Local testing on Windows
Windows 10 and above comes with all the tools necessary to do local web application cross-browser testing in Browserling. If you are using older versions of Windows, such as Windows 8.1 or Windows 7 you will need to install an SSH client like PuTTY.
Using an SSH tunnel for local testing on Windows 10 and above
To open a tunnel, start using Browserling and choose the Local Testing option from the floating menu and enter the hostname:port of your local web server. For example, it can be localhost:80, or localhost:8080. You can also tunnel local area network servers, not just your localhost. For example, you can tunnel 10.1.1.25:80, or 192.168.5.2:40000.
Here's a screenshot from opening a tunnel to localhost:8080
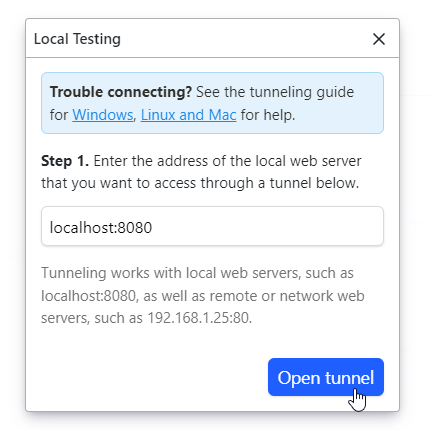
Enter the host:port of your local web server and click Open tunnel.
Click Open tunnel and Browserling will open a tunnel for you. Next, copy the ssh command:
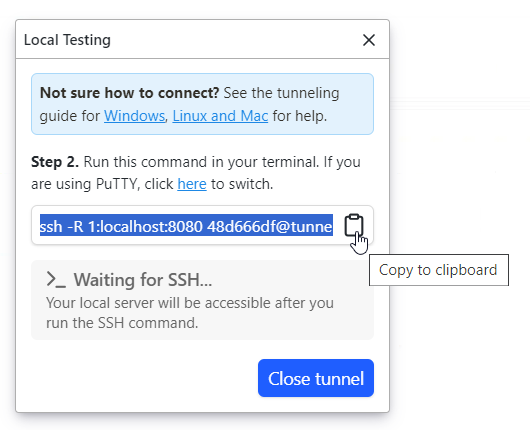
Copy the ssh -R ... command and paste it to the command line.
Open the Command Prompt and paste the ssh command into the window, then press Enter. If you are connecting for the first time, you will see a security prompt saying "The authenticity of host can't be established". Type "yes" to continue:

Type "yes" if you see a security prompt.
This security prompt is normal and only shows one time. If everything was successful, you should see the following message in your Command Prompt:
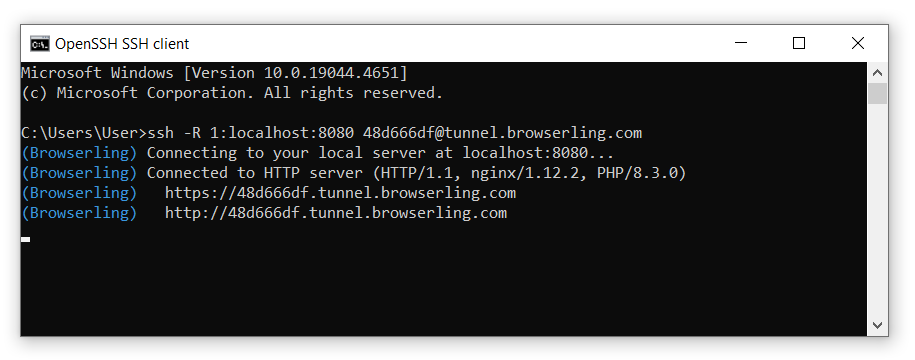
Successful tunneling with OpenSSH on Windows 10.
Switch back to Browserling and the status in the Local Testing window should be updated as well. Your local website will be launched automatically in a Browserling browser.

Local server is available.
To close the tunnel simply click Close tunnel in the Local Testing window or hit Ctrl+C in the Command Prompt to exit the SSH session.
Using an SSH tunnel for local testing on Windows 8.1, Windows 7, or older versions
Windows versions before Windows 10 do not have an SSH client preinstalled, so you will need to install a third-party SSH client like PuTTY. Open a tunnel from the Local Testing menu, but select and copy the PuTTY command instead of the ssh command:

Tunnel command for PuTTY.
Open the Command Prompt and paste the putty command into the window, then press Enter:
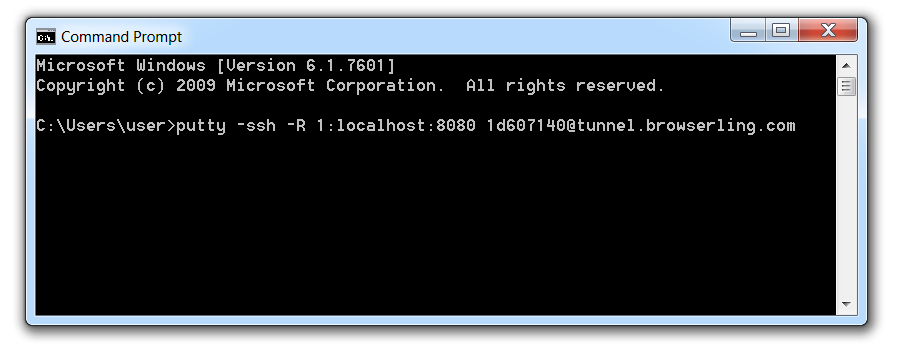
Copy the putty -ssh -R ... command and paste it to the command line.
If you are connecting for the first time, you will see a PuTTY security alert window. Press the "Accept" button to continue:
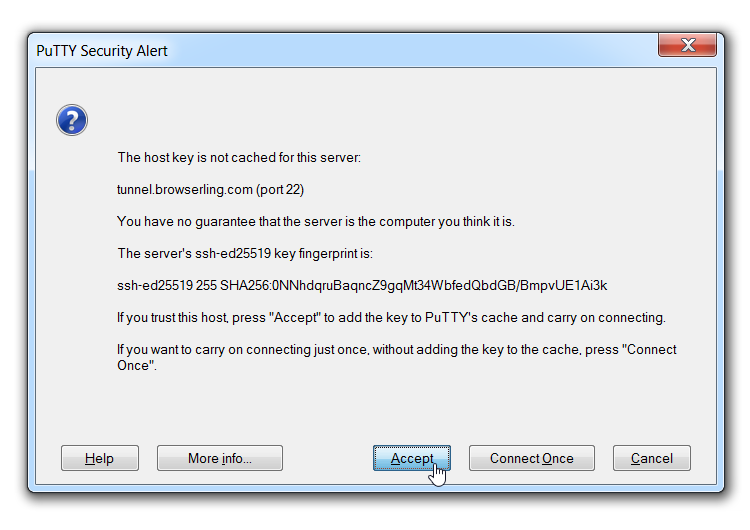
Press "Accept" if you see a PuTTY security alert.
This is normal and only shows one time. If everything was successful, you should see a PuTTY session open in a new window:
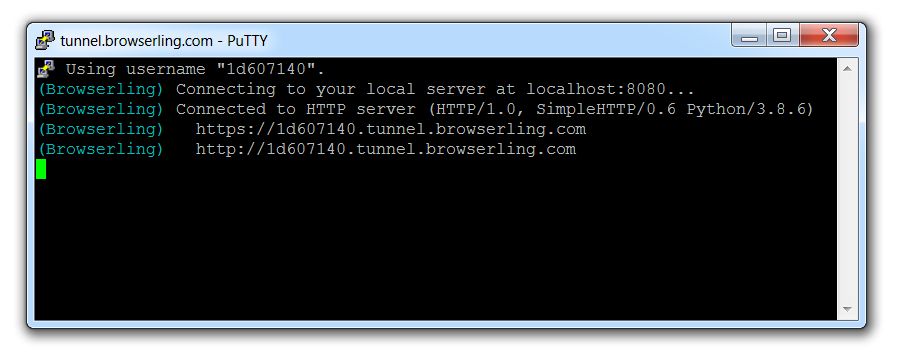
Successful tunneling with PuTTY on Windows 7.
Switch back to Browserling and the status in the Local Testing window should be updated as well. Your local website will be launched automatically in a Browserling browser.
To close the tunnel simply click Close tunnel in the Local Testing window or hit Ctrl+C in the PuTTY window.
Local testing on Linux and Mac
Not on Windows? Check out the Local testing on Linux and Local Testing on Mac guides!Support
For technical support please contact us at support@browserling.com or use the support forum.
 Subscribe to updates!